
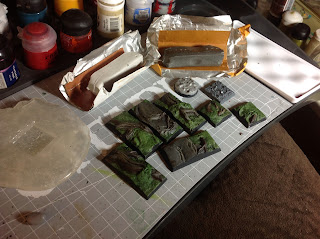
Here's the display board for my Chaos Space Marines, along with a bunch of bases I made. In this example, I made each base individually for each spot on the board. This way was fairly easy, but took a bit of time to make sure each base fit exactly into place. My CSM force is also relatively small, so custom bases for everyone wasn't that big of a deal.
Alternatively, when you're dealing with a horde army (like my Orcs & Goblins) you want to make up a bunch of custom bases, and do it as efficiently as possible. Below the fold, I'll go through the simple method I use to crank out bases.
Materials you'll need:
Blank bases
2 Part Expoxy (In this case, I'm using ProCreate. Green stuff works fine too)
Instant Mold (optional)

1) For this example I'll be making a single base. The whole process is easily scaleable, and by making large molds, you can easily make hundreds of bases. First off, you need a piece of terrain or base you want to duplicate. By pressing Instant Mold or Green Stuff onto the terrain piece or base, you're creating a simple mold.


2) Once the mold has hardened, simply place a ball of epoxy on the base, wet the top of the ball with a little bit of water (this keeps the epoxy from sticking to the mold), and then press it into the mold. Once you've firmly pressed the epoxy into the mold, gently pull the base out.

Let me know what you think
-Crispy
Nice simple tutorial, thanks.
ReplyDeletegreat tutorial chris! very helpful
ReplyDeleteI like this, going to have to give it a try myself.
ReplyDeleteI use the same process when I need Tyranid ammo sacs (from the bioweapons). Whenever I have an excess of greenstuff that I'm not using, I find something that I want to make a copy of. Bases were the first things I started to do, but I've been utilizing press molds more and more.
ReplyDelete