
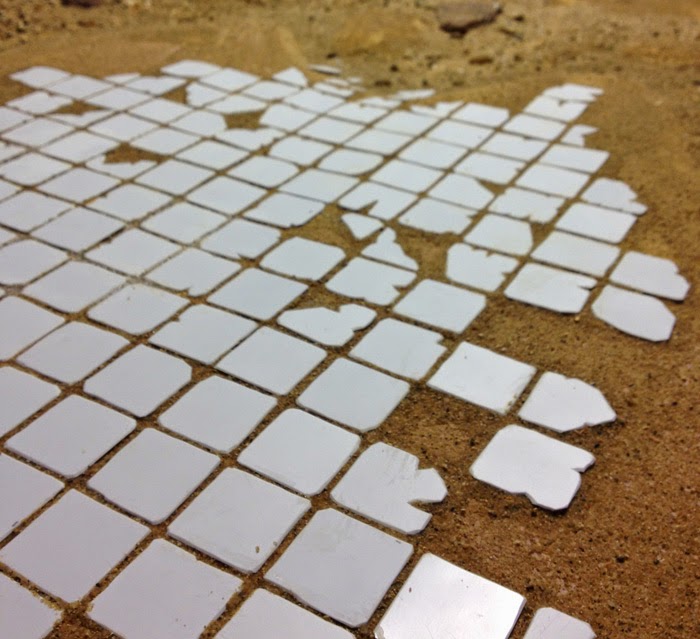
Here is how the board looks with all of the tiles glued on. I think I will leave the one half free of tiles so that it can have an over grown look and feel.


After I went in and repaired all of the loose tiles, I applied watered down glue around and between all of the tiles and then sprinkled fine sand over the tiles so that the sand would fill in the gaps between the tiles and strengthen the bond.

Next up I will apply a layer of watered down glue mixed with black paint over the entire surface to act as a primer and then I will start painting the board. Once the board is painted but before I add the water effects, I am going to add in various sections of dead tree branches that I have gathered in the yard during spring clean-up. I am also going to be adding in various sections of foam ruins into the waterway so that the players will see sections of ruins beneath the water.

So while it may not look like much went into the above steps, having to go back and fix a bunch of the tiles took many days. So the morale of this story is to never skimp out on what works for you just to save .50 cents.
On a somewhat related note...
This past weekend my wife and I went up to the Adirondack Mountains for our upcoming wedding anniversary. For those of you who do not live in NY the Adirondacks are one of the oldest mountain ranges in the world and the park itself pretty much fills the entire northern section of the state.
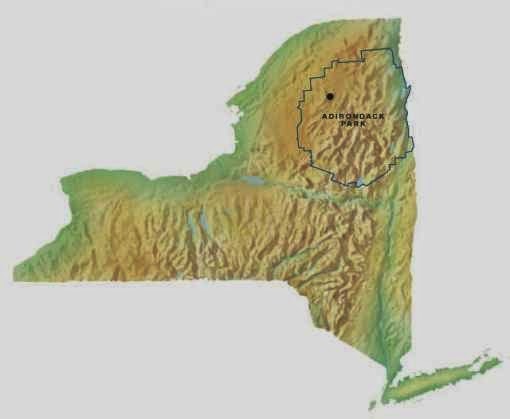
I have been going up to the mountains every year for pretty much my entire life and I have always been entranced by the beauty of the landscape. While the mountains themselves are old and worn down, the landscape is breathtaking and full of variety. There are lots of valleys, rivers, chasms, gorges, wide open fields, swampy areas and wetlands. So I used this past weekend to get more ideas for my board as we hiked along a trail near Cranberry Lake.

I plan to use some of the tree branches to look like fallen trees on the board.

Here is a tree that had fallen over during the winter, exposing the rocks and boulders that were underneath the roots. Note how dark yet clear the water looks. I'm debating if I want to go with that look or if I should muddy up the water.

Here is a boggy area along the trail, probably filled in from all the recently melted snow and rainfall.

Here are the remains of an old tree stump covered in moss and dead leaves, partially submerged in the water. I plan on having modular pieces that look like this on the board.

Next week I hope to have pictures of the board primed and at least partially painted. After that will come the fun part of building the modular pieces of terrain that will populate the board.
The board is looking nice!
ReplyDeleteAgree. Nice progress! Looking forward to more progress!
ReplyDeleteIm hoping to play some lizards on it soon!
ReplyDelete