Here's a basic walk through.

Here's my work station. In the middle is plaster sheet broken up for rocks/walls. On the right are 6 different particle sizes of decorating debris from GW and GF9.

For the rocks, just mix the plaster following the instructions and pour it into a flat tupperware or plastic tray with a flat bottom.

Then, just break them up to the appropriate size.
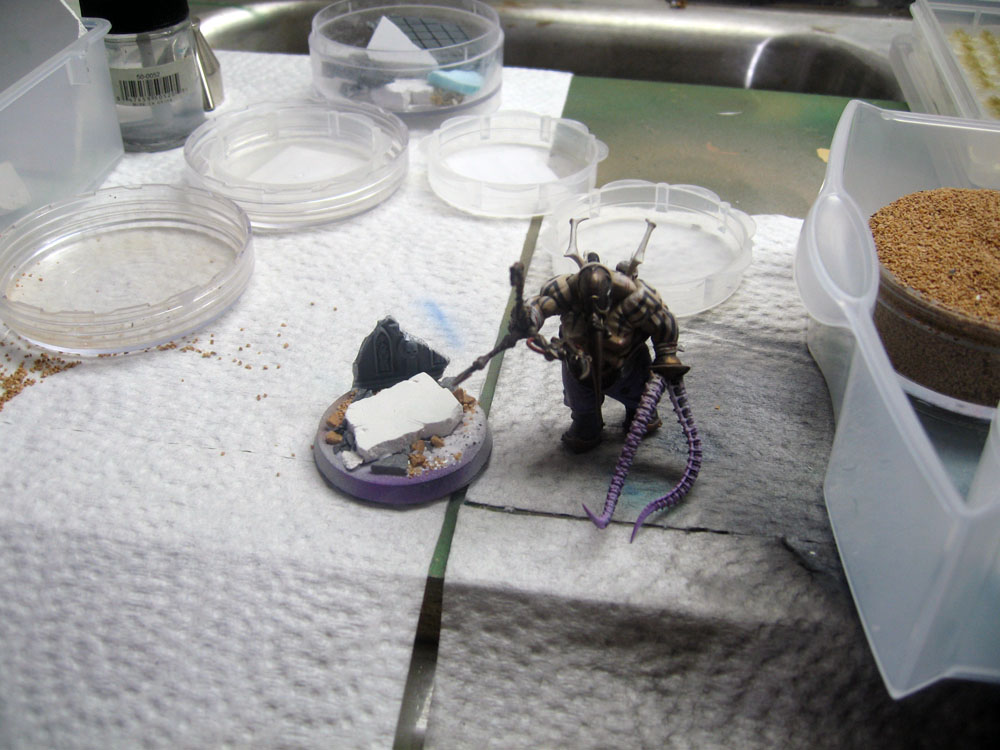
Here's a shot of one base after gluing down a central piece for the model to stand on. Different particles of slate, nut shells, and sand are glued around.

Here's a batch of grotesque bases after assembly. I mark the bottoms of the bases to indicate the front so I paint them properly.

Here's the rest of the army in progress. I meant to take pics at every step but I got a little over excited and ahead of myself. These are primed black and some have been airbrushed medium grey from the front. I always airbrush the bases from the same direction to create source lighting and shadows.

My test models overlook my work space and I use them as reference to try and maintain consistency in color and appearance.

Here's the whole lot after the first color.

Here's the batch after a pass with a 50/50 mix of medium grey & dove grey. As a source highlight, it hit a small area and only the front edge of the rocks. They still need washes to darken the low areas and dry brushing to make the edges pop, but it's a pretty slick look for now and the army is playable again.

A few drops of glue and everything is back together. You can see the finished bases mixed in with the newest batch.
Here's a quick run through my mini display base that will fit in the final display board.

Here's the work station. The concept is take a styrofoam sheet the size of the battlefoam display board insert, lay out a segment for each unit, and cut it up like a big puzzle. The blue sheet is a 6x7 piece for the grotesques. I've laid them out in an arrangement that appealed to me, traced the outlines, and numbered them. The tentacles stick out enough that if I messed up this part, they would bump each other. On the right are my rock particles, sand, and plaster rocks.

Next, I broke up and added some bullet holes to the plaster chips. I glued them down making sure not to block out a spot for a base. They do come pretty close tho, and the pattern will encourage the models to stay in place and not slide around.

Then I went to work gluing down the mixed particles. Going from larger slate pieces down to a dusty sand helps create layers of detail.

Here's the section assembled while I double check that none of the bases will have sand underneath them.

The display segment is then painted with the same process as the bases above. A few washes and a little dry brushing and the segment should match the bases well.
*Edit*
My wife suggests that the blog would be much better if I finish each article with a baby picture. I'm gladly going to appease her since she's enabling me to have much more painting time these days.
This hobby project has been baby approved!

Nice!!! Bases and display are coming out great!! I should really invest in an airbrush,
ReplyDeleteOn a side note, ignore the internet gangsters on the forum, unfortunately there is no reasoning with them
Thanks man. I would recommend an airbrush to anyone willing to invest the cash for the equipment and the time to learn how to use it properly. It does come with a learning curve tho and takes time and patience to figure it out. LMK if you go that way, I'll be glad to show you the ropes.
DeleteNo worries about the forum man. It's all just a game, as is the silliness on the forum.
These are outstanding and really make me want to get an airbrush.
ReplyDeleteDo you have any recommendations for which one to get? I already have an oiless compressor with a 5 gallon resevoir - got it for car work but figured it could do double duty if I paid a little extra.
I don't know much about airbrushes, specifically what makes the super expensive ones so special. You do want a dual action one, I use a badger at home and central pneumatic one at work.
DeleteI used to use a compressor like yours but I'm so much happier with one made for airbrushing. It's silent and has a built in water trap which is very important. I got this one at harbor freight and if you watch their website, you can print a coupon as well.
http://www.harborfreight.com/air-tools/air-compressors/1-5-hp-58-psi-compressor-and-airbrush-kit-95630.html
The offer I made Chris is open to you also. Hit me up next time you come to town and we can do an airbrushing session and you can table me with your daemons.
That sounds great - I will keep you posted on my comings and goings I think I have a gift certificate to Harbor Freight from my birthday which may come in handy.
DeleteI am really unsure exactly how good Daemons are right now - with the new rules against 5th edition style lists they are killing it, but it is a matter of time before people adjust. I think I just made the adjustment a little bit faster than other people.
I love the shading on the face of the last picture - it has a lot of depth, but I might give it a final wash of Devlan Mud to give it a more gritty look.
How did you get such realistic eye effects on the last model pictured?
ReplyDelete